How to Roast a Turkey Breast-Side Down
Really, it seems like common sense, but people often ask just how to do this. Well...you flip the bird. (Insert sophomoric giggling track here.)
If you have ever bought service turkeys -- you know, the cheap ones that don't have all kinds of strange chemical injections in their breasts to make them tender and juicy -- and have been disappointed by a dry bird, try cooking it breast-side down. Trust me, once you do this you won't go back to buying over-priced, chemically-laden birds just for juicy breasts. (More sophomoric giggling.)
Take your thawed bird and rinse it all over, inside and out with warm tap water. Pat it dry. (I just shake it a bit and knock the excess water off.) If you bought a cheap turkey look around for feathers. I found about 10 on mine. (ewwwww) Poke around in cavities on both ends and find whatever goodie bags are inside. If you make giblet gravy, put your giblets in a pan. If there's a neck in there, put it in a pot to make broth for future use.
Take your thawed and rinsed bird over to your roaster and put it on breast-side down. This is what an upside-down bird looks like.

Now season up that bird! I use marjoram, thyme, rosemary, sage, parsley, and some dehydrated onion flakes. I put them all over the bird, in the cavities, and under the wings and legs. Add some water (couple cups) to the bottom of your pan to keep the bird hydrated while it roasts. No, I don't use salt.

Make a foil tent for your bird so you don't char the skin and end up eating carcinogens.

Put your bird in a 325F oven. You will be cooking the bird about 2.5 hours if it's a smaller one (8 poundsish). Otherwise do the math: 20 minutes per pound. (So 10 pounds times 20 minutes = 200 minutes = 3 hours 20 minutes. I will feel like such a dumbass if I got that wrong!) DO NOT OPEN THE OVEN. You don't need to baste your bird. The water in the bottom of the roaster will prevent moisture loss and all the juices from the fatty parts of the bird (legs, back) are dripping into the lean parts of the bird thereby making it a self-basting bird. So don't open the oven until it's time to take off the foil and insert the meat thermometer.
30 minutes before the bird is due to be done, remove the foil tent and insert a meat thermometer in the meatiest part of the bird.
Turkey is done when the meat thermometer reads 180F.
Oh, it's still pretty. Whether it's breasts or backsides that do it for you, this is dishy:

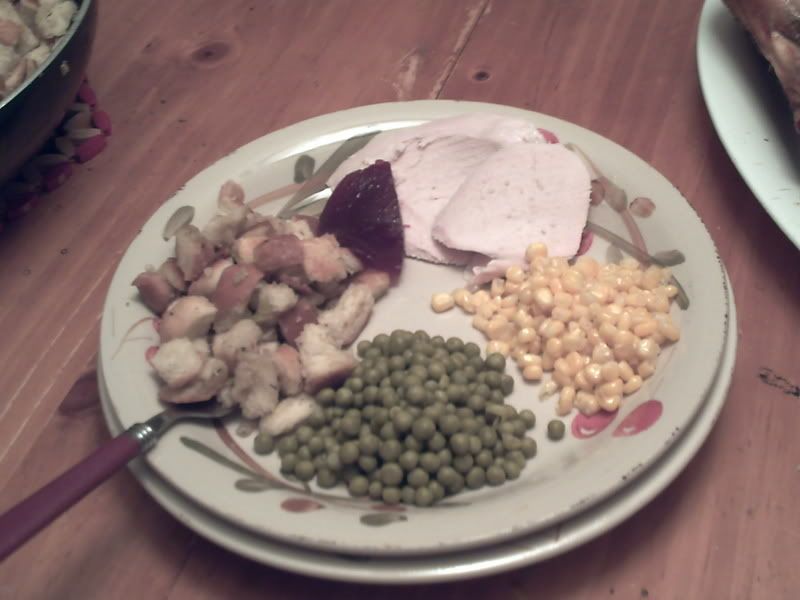
When done, remove the turkey from the oven. Let it sit about 15-20 minutes to cool before carving. I flip it onto a large platter so it's breast-side up for carving and then I carve it. (Okay, Roy carves it. Get off my back! Sheez!) So Roy carves it up, removing the skin as he goes. You're not eating the skin are you? You're not supposed to eat the skin. That's yucky. That's bad for you. Don't eat the skin. And we serve it up.
Serve some lovely homemade bread dressing with it, too!
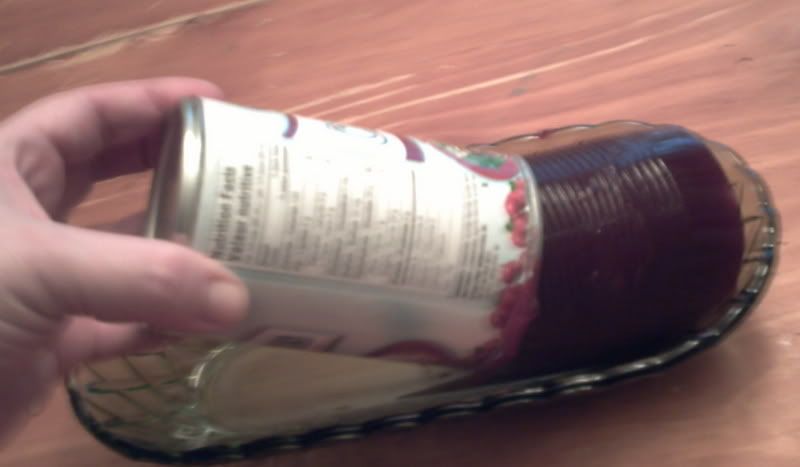
And don't forget the cranberry jelly. No, not homemade with all those berries floating in it! The kind that makes that shlooking noise when it plops out of the can onto a serving platter.
 Yeh, that's the best kind. Slice it up real purty and guests will have to think awhile before they figure out it's canned.
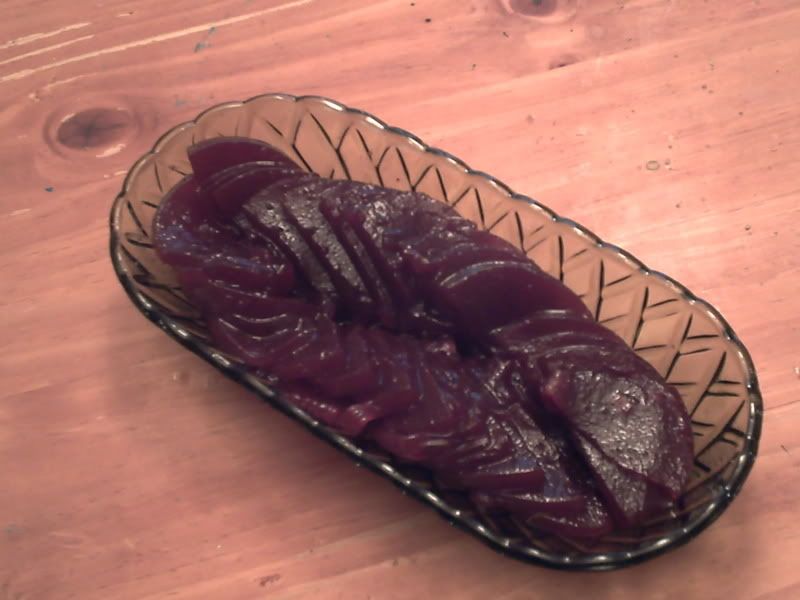
Oh, but what about that broth, you say? Alrighty, then. Take that neck that's in a pot, cover it with water. Several cups is plenty. Add a cut up carrot and a cut up celery stalk. Add some parsley. Cook it. (Bring it to a boil, turn it way down to just simmer, keep it covered.) Cook it some more. Cook it a little bit more so it reduces and gets nice and strong-flavoured. Let it cool. Strain it all into a freezer-friendly bowl. Seal it up. Date it and put it in the freezer for another day. (Compost all that stuff you strained out of it. You can eat the meat. Or the cat can. The cat will love you forever if you let it eat the meat.)
Now let's see how those breasts stack up...
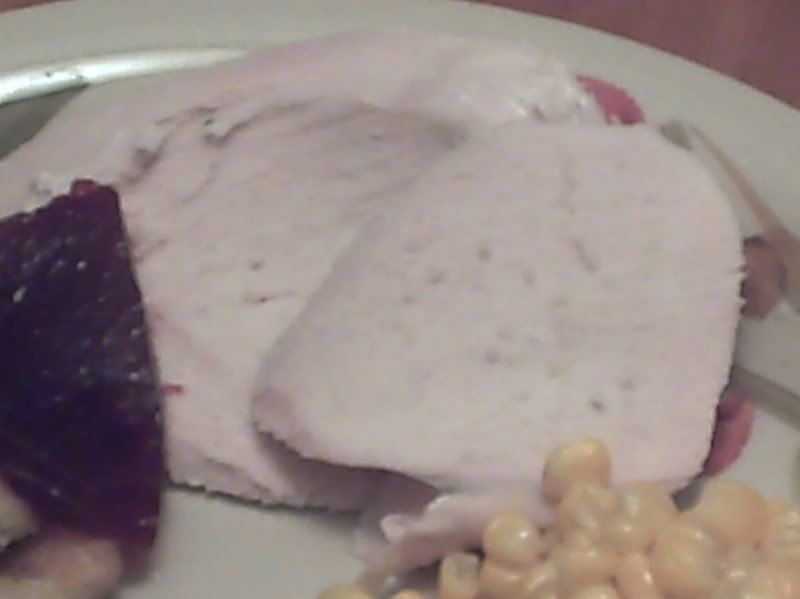
Yummy!


.jpg)

